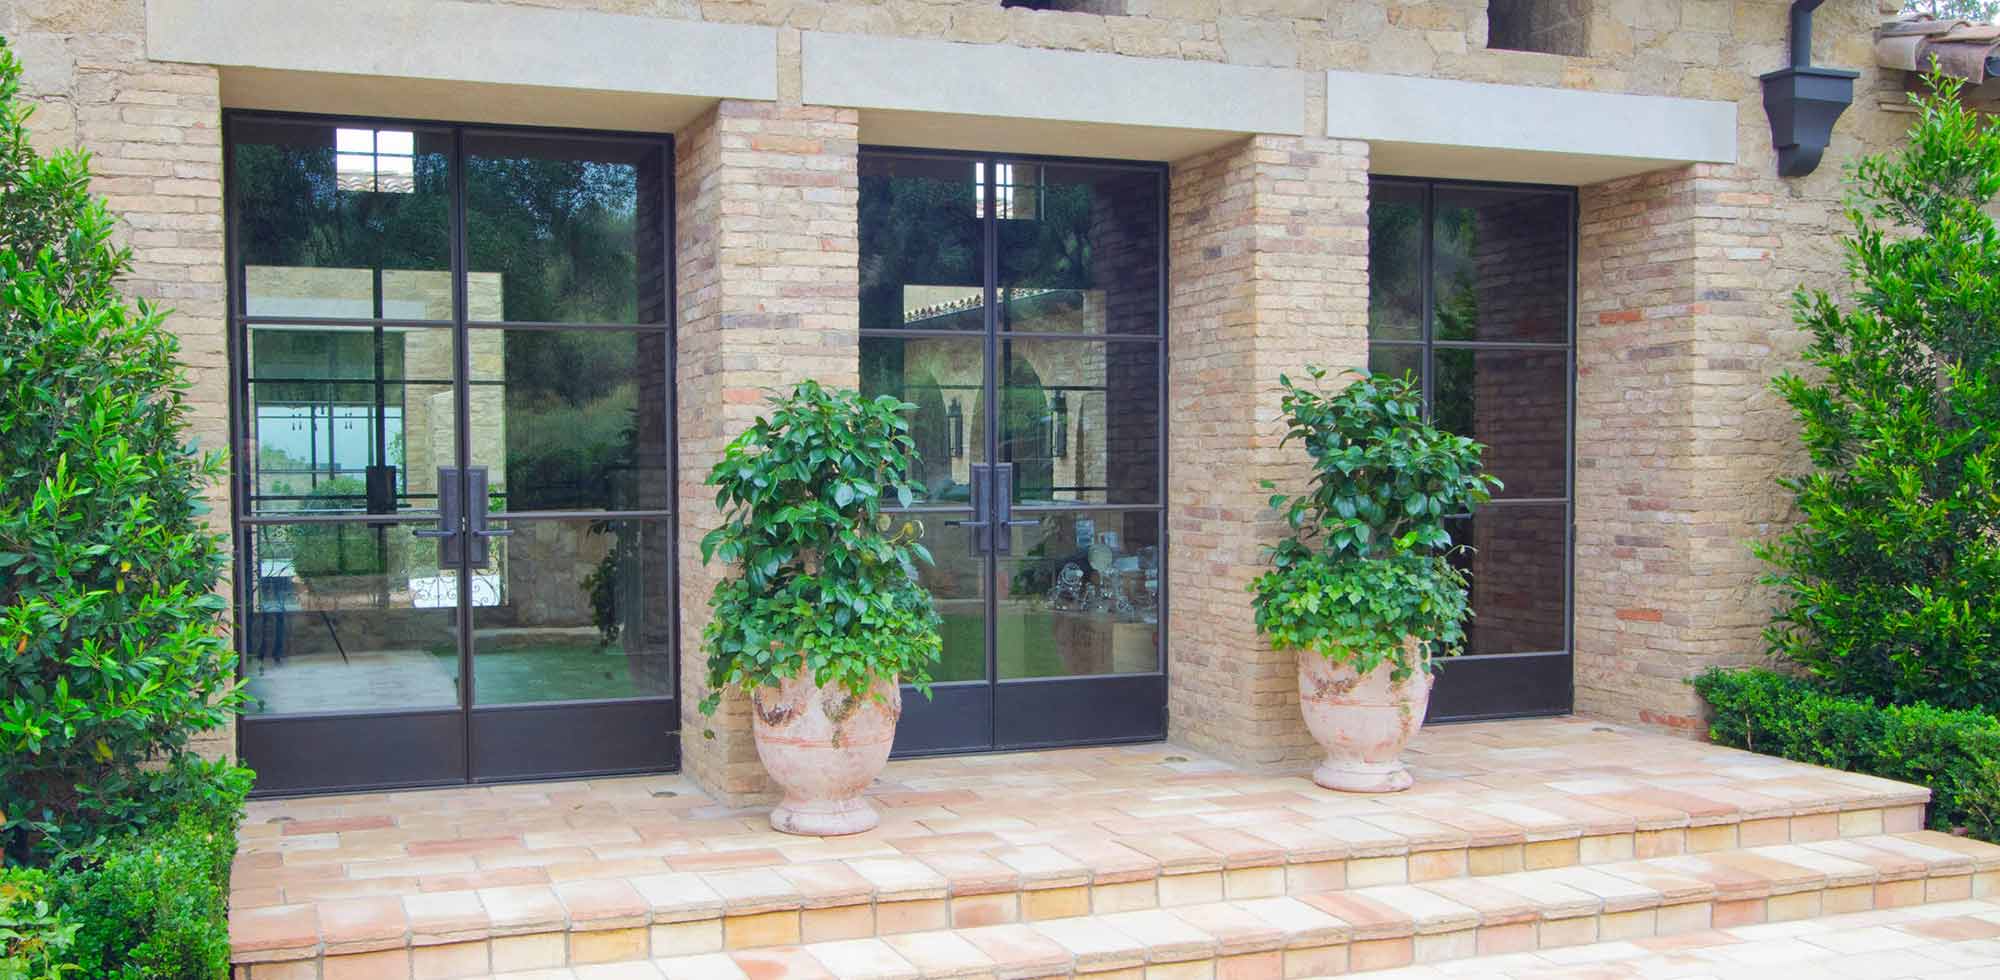
The Aluminum Alloy Sliding Doors are gaining popularity, yet many are unfamiliar with the installation process; here, you will be guided through each step.
1. Prepare the tools before installation the aluminum alloy sliding doors
Including: Impact drill, Hand drill, Laser level, Olyurethane Foam Sealant, Glass glue, Mounting screws, Tape measure, Stationery knife, Allen Wrench, Cleaners & Wipes etc.
2-1. Installtion Step 1: Cleaning and Inspecting the Opening
Please clean and inspect the opening before installing the new aluminum alloy sliding doors. Here's what you need to do:
Remove any debris, wood shavings, or dust from the opening using a vacuum cleaner or broom.
Inspect the floor where the door sill will be placed. It should be level and free of any bumps, dips, or damage. If it's not level, you'll need to address this issue before continuing.
Check the frame opening for squareness. This is essential for proper door installation, as an out-of-square opening could lead to a faulty fit, poor sealing, or other issues. Use a carpenter's square, a tape measure or a spirit level to ensure the sides and top of the opening are square.
Make any necessary repairs to the wall or opening, such as filling in gaps or replacing damaged sections, to create a solid and level surface to attach the new door frame.

2-2. Installtion Step 2: Assembling the Frame
Assembling the aluminum alloy sliding doors frame involves gathering the necessary materials. These usually include vertical jambs, a horizontal head jamb, sill.
Dry-fit the frame components: Before fastening the frame components, dry-fit them in the door opening to ensure they are the correct size and fit snugly together.
Fasten the frame components: Join the side jambs to the head jamb by supplied screws.
Install the sill: A sill must be installed at the bottom of the frame, creating a barrier between the interior and exterior environments. Seal the sill properly to prevent air or water infiltration.

2-3. Installtion Step 3: Aligning and Levelling the Frame
Once the frame components are securely attached, the next step is to align and level the frame to ensure smooth aluminum alloy sliding doors operation.
Place the frame in the opening: Carefully lift and position the assembled frame into the door opening. Make sure the ends of the head jamb are flush with the edges of the side jambs.
Align the frame: Use a level to check the vertical alignment of the side jambs and ensure they are plumb. Make any necessary adjustments to the frame to achieve accurate alignment.
Level the head jamb: Ensure the horizontal head jamb is level by using a level tool. Adjust the frame as needed to correct any discrepancies.
Shim the frame: To secure and stabilize the frame, insert shims between the frame and the surrounding structure. Place shims at key points to provide additional support.

2-4. Installtion Step 4: Fixing the Frame to the Opening
Once the aluminum alloy sliding doors frame is properly aligned and leveled, it’s essential to fix it in place. Pre-drill holes: Mark the locations for fasteners on the frame and surrounding structure.
Pre-drill holes for screws or nails to make it easier to insert fasteners.
Fix the frame: Fix the frame to the opening using suitable screws or nails with the high rail section of the sill track facing inwards. Drive the fasteners through the shims to provide additional support and stability.
Check the alignment and level: After fixing the frame, double-check the alignment and level of the frame components, making any necessary adjustments as needed.
2-5. Installtion Step 5: Installing the Aluminum Alloy Sliding Doors Panels
Install the fixed panel first, keeping the interlock facing outwards and in the center.
Tilt the door and slide the top section into the inside track.
Then put the bottom part of the door into the sill rail.
Install the wheels into the sliding panel adjusting the wheels up.
Tilt the sliding panel at the top, sliding it into place. Make sure wheels sit on the outside bottom track and the interlock faces inwards.
Adjusting Panel Position and Rollers. Jack the door up and adjust the screws on the wheels until the door can’t be removed. Make sure the door is straight when doing this.

2-6. Installtion Step 6: Filling foam glue & cutting foam glue
2-7. Installtion Step 8: Sealing the frame by using glass glue
2-8. Installtion Step 9 : Cleaning the door
The installation for aluminum sliding doors will be finished.
Glory Iron Doors are the professional in producing different style of aluminum alloy sliding doors. Feel free to contact us at info@gloryirondoors.com if you have any queries about the aluminum alloy sliding doors. We will be there for you.

